Friday Photo Tips!
/Hey guys! Today I thought I'd share a few little tips on photography I've picked up along my journey. I've been so blessed by others who have shared their knowledge and I want to pass along the blessing. I'm self taught, so I've really appreciated those who are willing to share their expertise. I am so very thankful for those people! I know there are a lot of phenomenal photogs out there and I'm no super pro by any means, but I do want to share what I do know! A lot of you may have learned all of this stuff already, but some of you may not! Everyone starts somewhere! Hopefully I can do several of these, and if you guys like it I will get more and more advanced with each one. :)
1. Find diffused light!
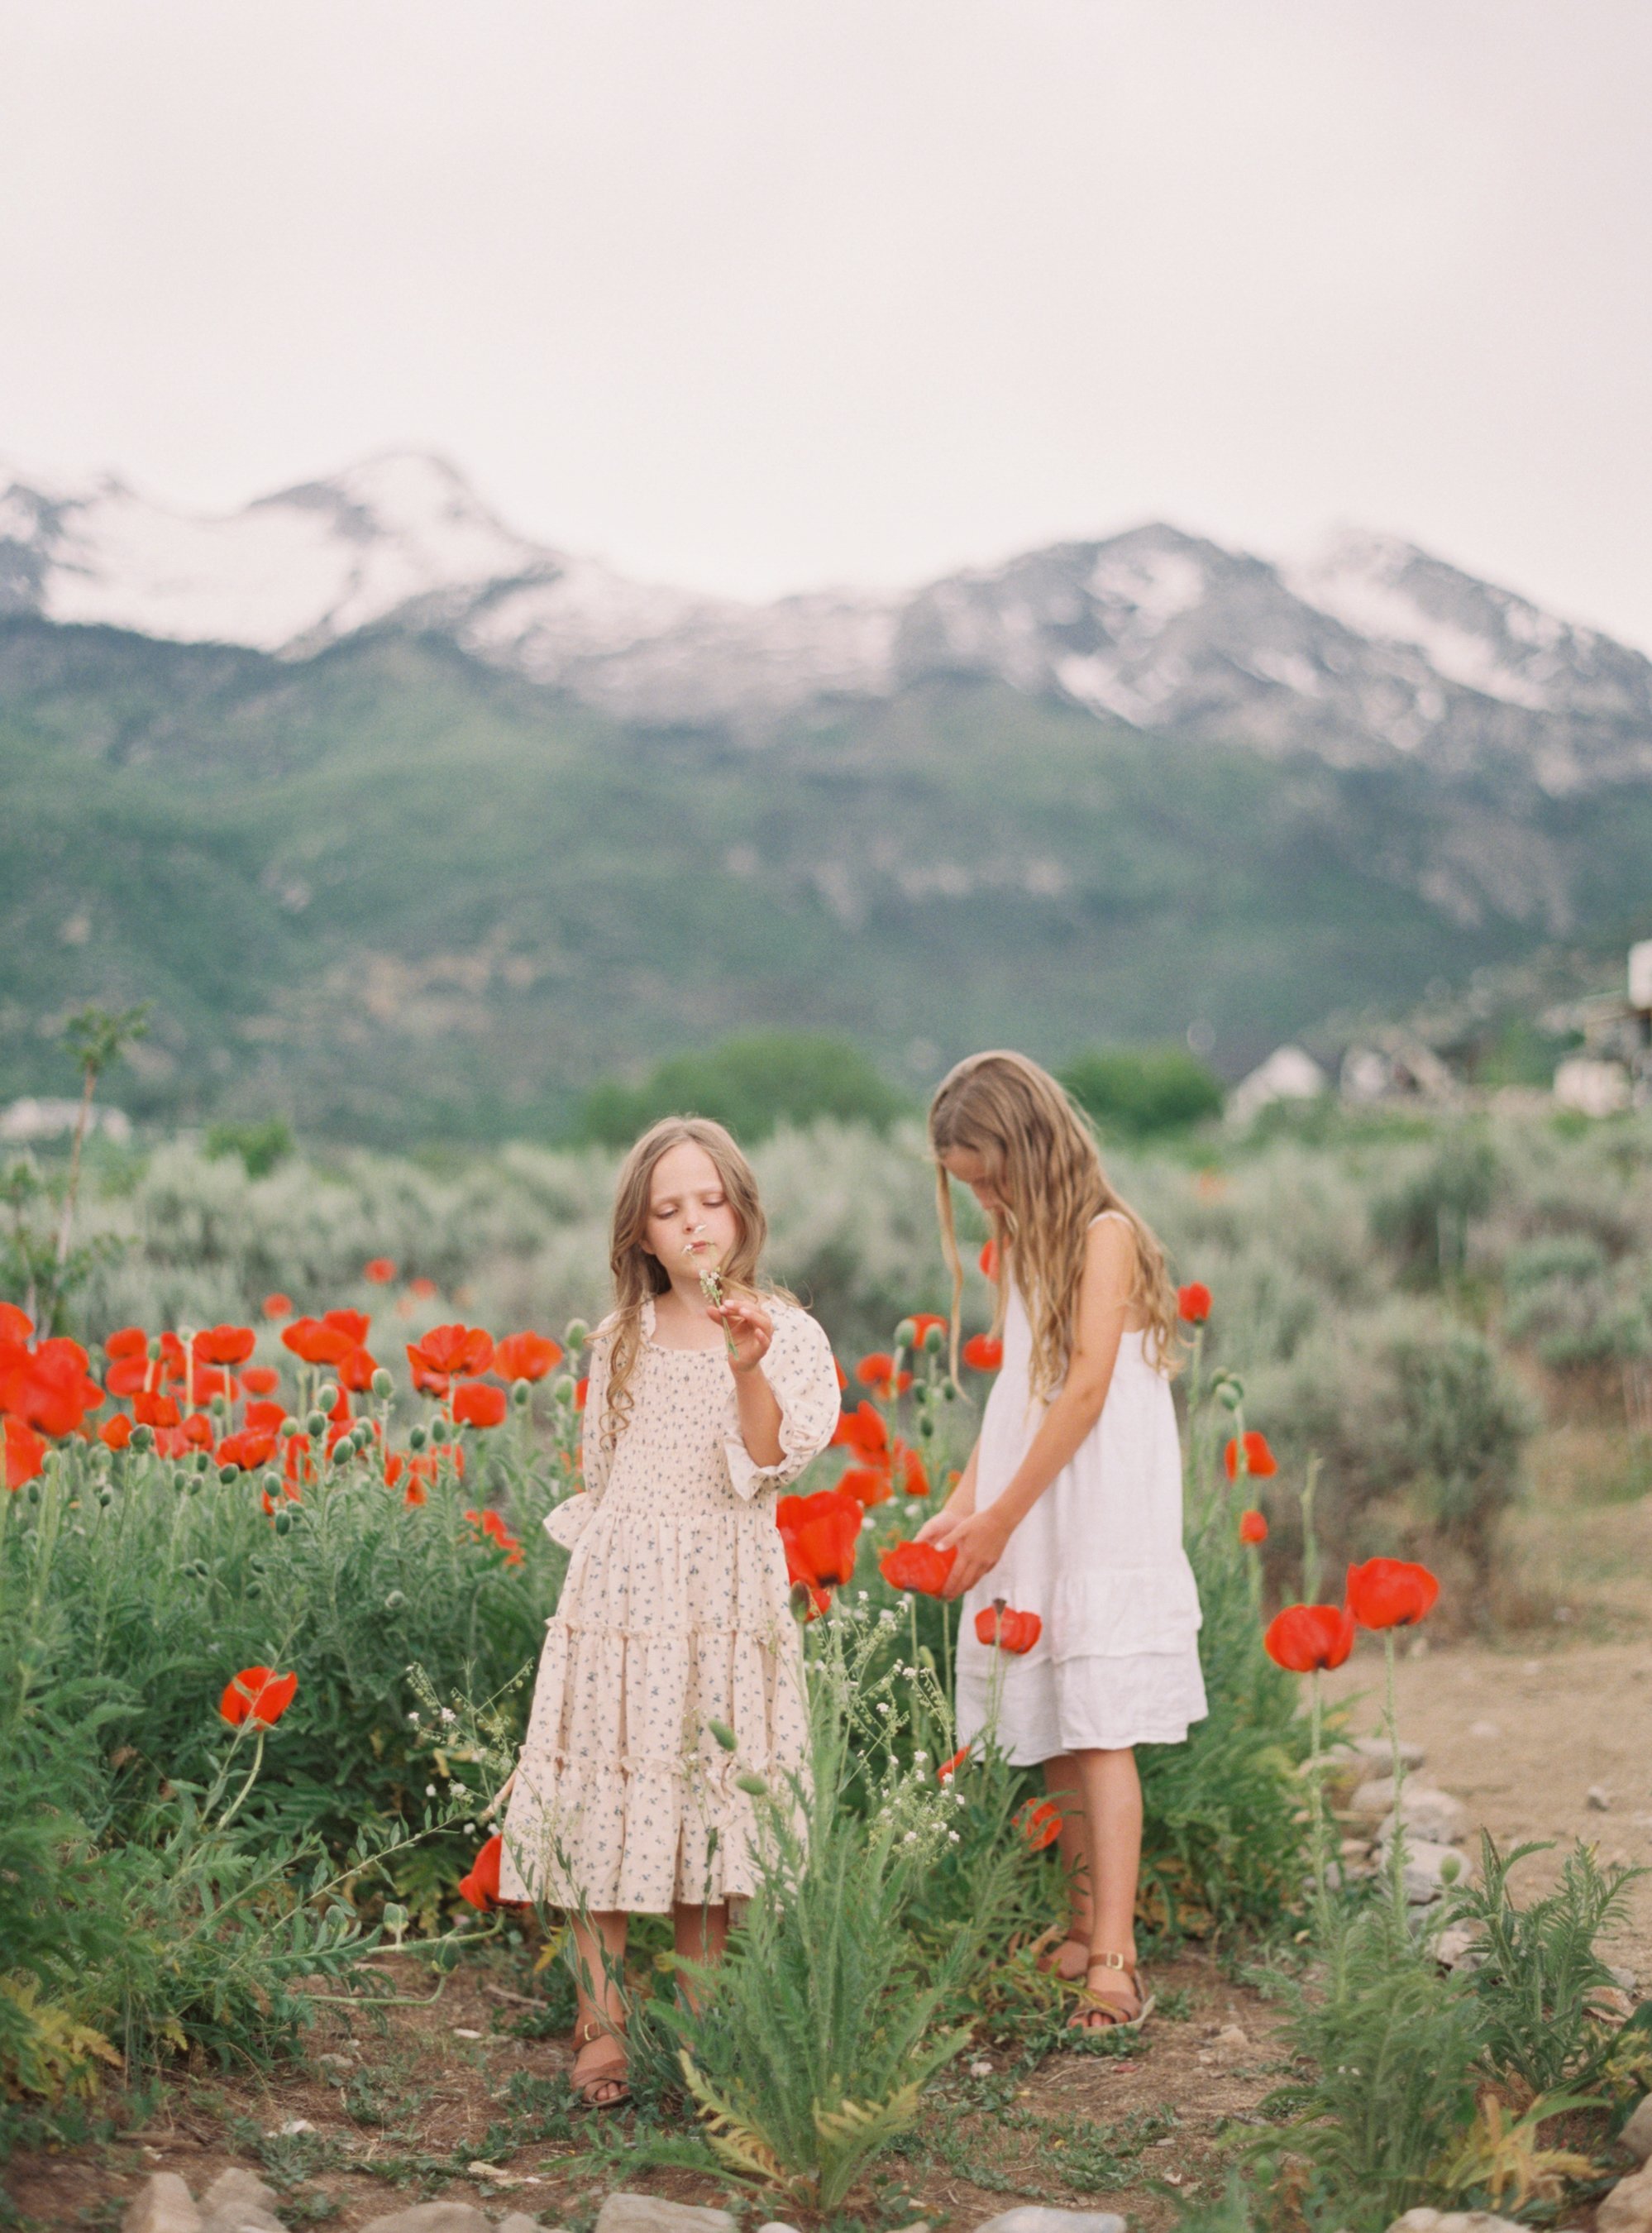
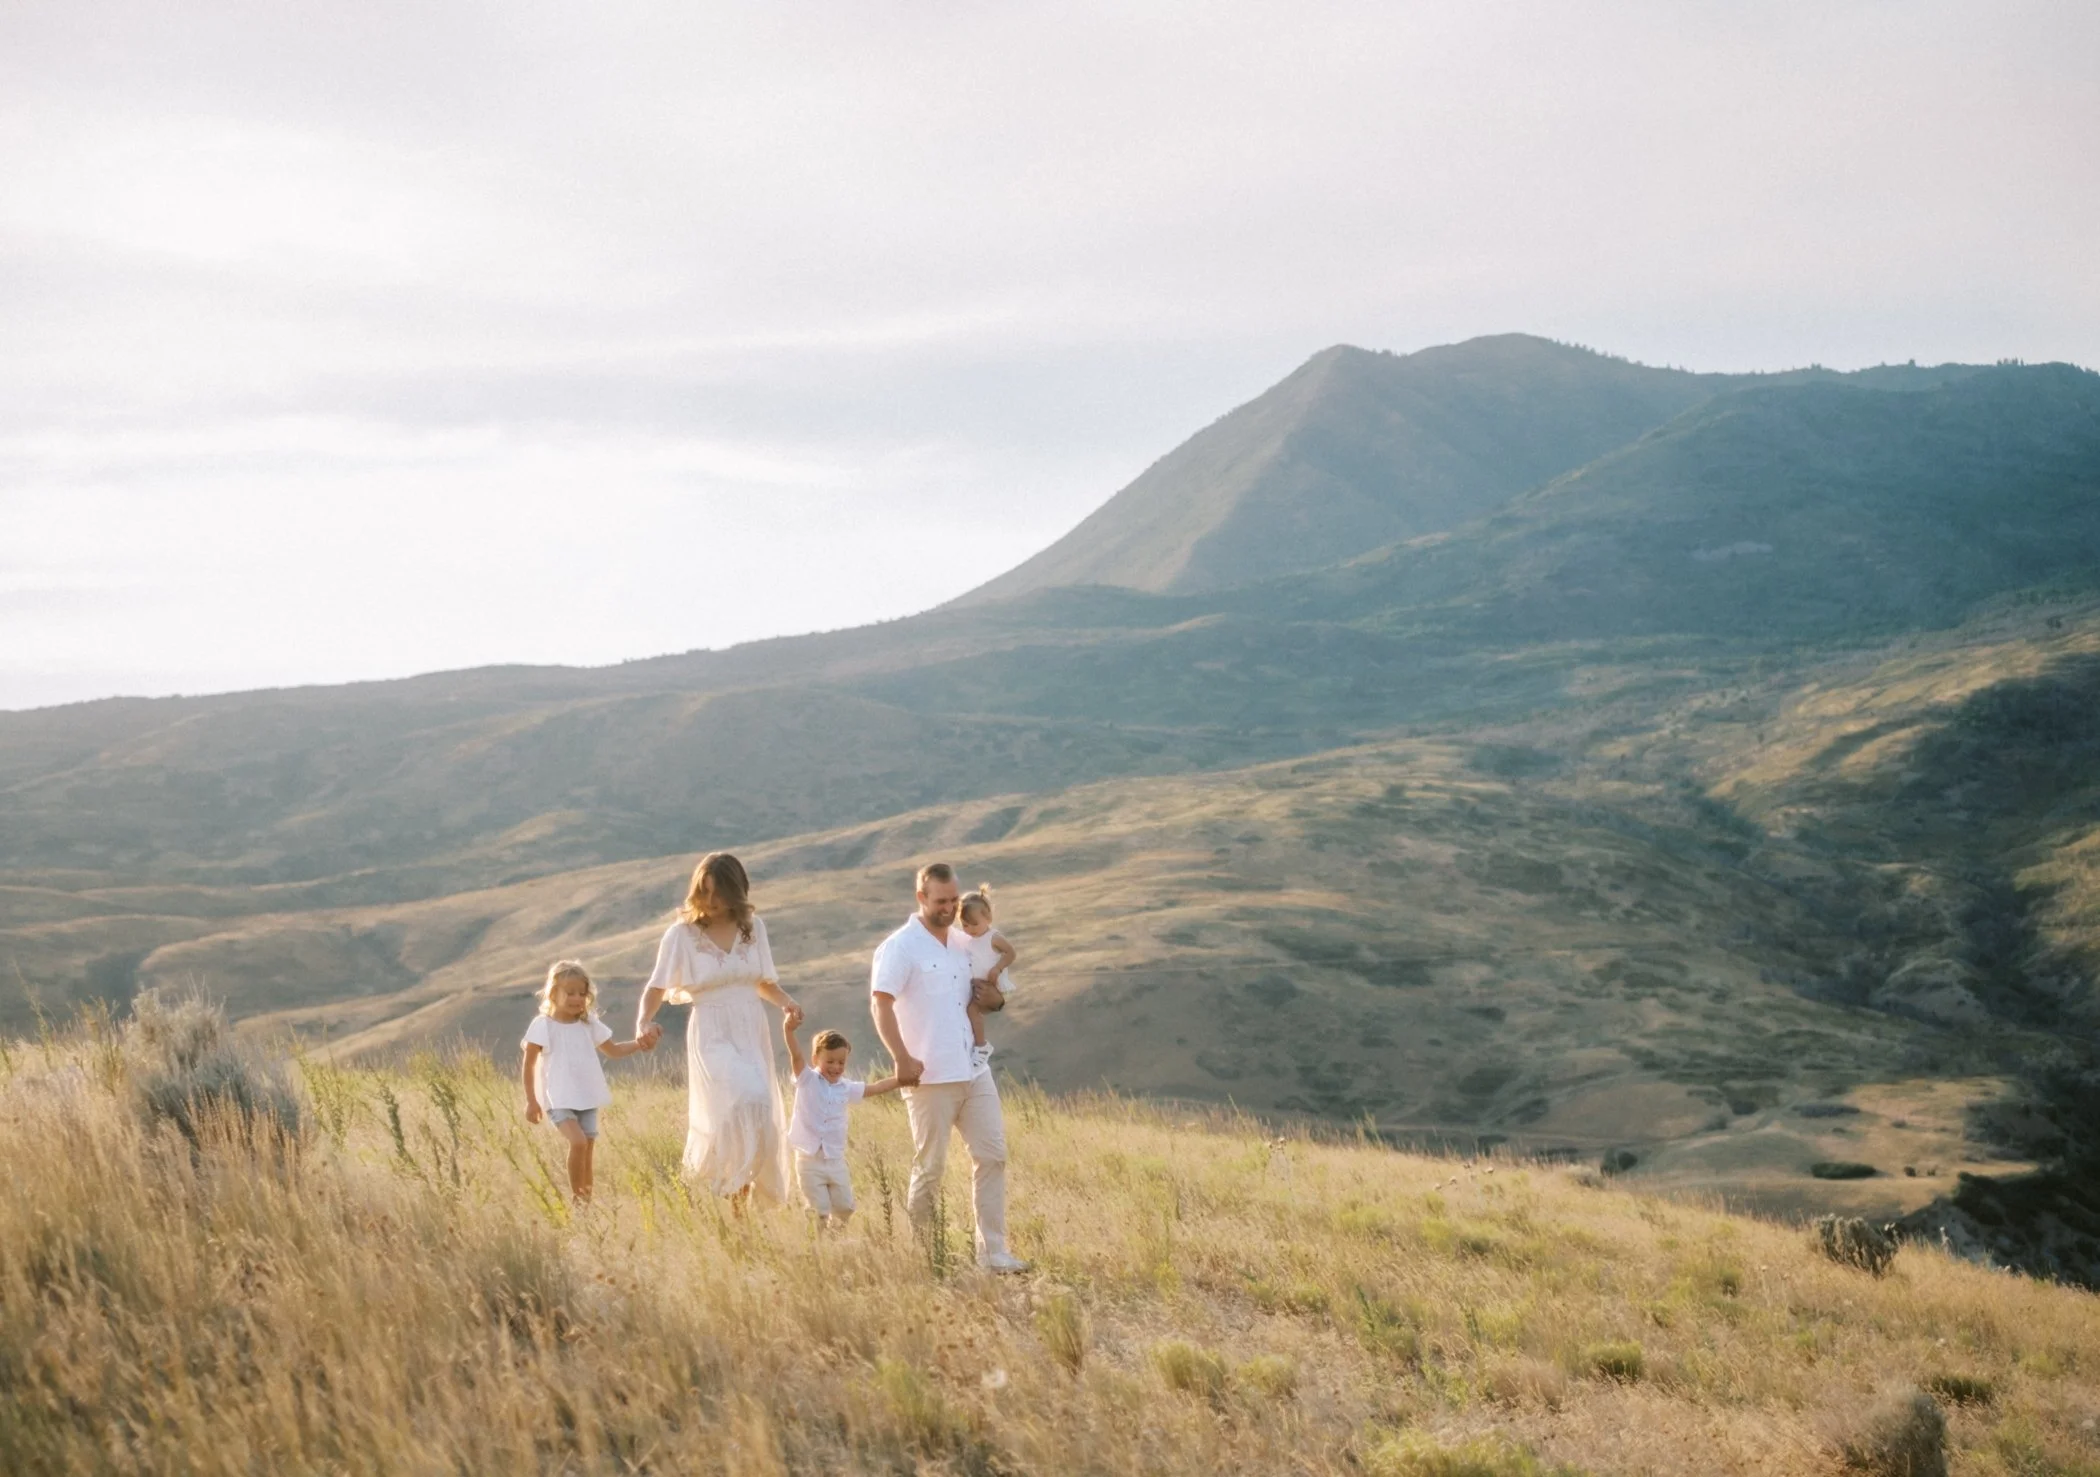
Diffused light creates soft edges between shadows and highlights. It softens textures, lines, and contours. I love diffused natural light in photography. Oh, it gives me goosebumps sometimes. The key is finding the dreamy, goodness. The better the light, the better the photos. First of all, you can shoot at sunrise or sunset. The light is often much softer and will look much less harsh on the face. You can also do some neat things with backlighting (which I love). In the middle of the day the light comes down directly from overhead. The result brings very unflattering shadows on the face. If you can't shoot at sunrise or sunset find a shady spot somewhere, or a place where the light bounces off something (like a white wall) before it gets to your subject. A cloudy day is also perfect for shooting because the clouds act as a natural diffuser. If all else fails, it is good to have a big reflector and diffusor. (They don't cost much either! I keep mine in my trunk at all times!) They have saved some of my shots when I wasn't able to find a spot where the light was perfect. If indoors, find a window and use the natural light there.
2. Focus on your subject's eye
This is the one thing that will make photos look super sharp. If the eye is not in focus, your photo will look blurry. No one was their nose in focus when they're eye is not. It just doesn't look good. Always go for the eye and the rest will fall into place. That is the rule, but it can also be broken. For some shots you may want to focus on something else, like hands, a prop, etc...
3. Less is more, especially with editing
I've always loved editing. Even when I just had a point and shoot, I would edit my photos in whatever software came with my computer before printing or uploading. I knew even then that adding a little contrast and color can do wonders. However, it is really easy to go buck wild when you first get some good editing software. I remember when I started playing around in Lightroom for the first time...I may have over edited some photos...just a touch. Haha. I learned very quickly that less is more with editing. Here's an example of a before and after from a recent shoot:
photo_tips
Straight from camera After a little editing
All I did was add a little contrast, some warmth and a little brightness with my presets. I try to get my photos to look good in camera so that I don't have to do as much in post processing. Personally, I think it's best to keep a photo clean. Editing trends will come and go so try to keep it pretty minimalistic. There's definitely a delicate balance between improving a photo and ruining it. Even if I do a lot of work to a photo, I try to keep it looking natural.
4. Try a something different
It's easy to get in a rut with photography...so try something different! Don't shoot straight on one time. Try shooting up from the ground or down from a chair or ladder. It's amazing what a different angle will do for a shot. If you normally shoot at sunset, shoot in mid-day. If you shoot outdoors, try indoors. I almost always shoot outside, but a few months ago I took my camera to a concert. It was dark with very little light, so I had to think about everything differently. I ended up getting some shots I really liked, including the ones below. The experience stretched me for sure.
ntb
5. Do self portraits
It can be rather challenging to get a good photo of yourself with a tripod. Let it stretch you! Being limited with a tripod really forces you to think outside the box. It also can be a good time to test out different poses. You can see how they look on yourself before trying it with another person. I have found this is a good way to get out of a rut as well. Just go out with you and your camera one day and see what happens!
6. Follow the rule of thirds
This helps greatly with composition. What you do is imagine 3 lines dividing your image both vertically and horizontally. You want your points of focus to fall a third of the way up, or a third of the way to the left and so on and so forth. This rule based on where the eye is naturally drawn. Here is an example:
rule of thirds
My subject's eye is right on line in the top right third of the photo. Naturally, your eye is going to be drawn to the spot. Her hand falls on the other line, which is also a good spot. Now, you get get really technical with this and create brilliant balance in you photos. This is definitely something that's fun to experiment with, but like any other rule of photography and art...it's made for breaking!
Where did you guys pick up your tips? Was it online or from someone you know? Anyway, I hope you guys took away at least a little something! If you like this, let me know in the comments and I will keep sharing!
Have a great weekend!


